Clematis – Derivation of the Greek Word Klema, Referring to Vine Clematis
Scientific Classification
| Kingdom: | Plantae |
| (unranked): | Angiosperms |
| (unranked): | Eudicots |
| (unranked): | Asterids |
| Order: | Ranunculales |
| Family: | Ranunculaceae |
| Subfamily: | Ranunculoideae |
| Tribe: | Anemoneae |
| Genus: | Clematis |
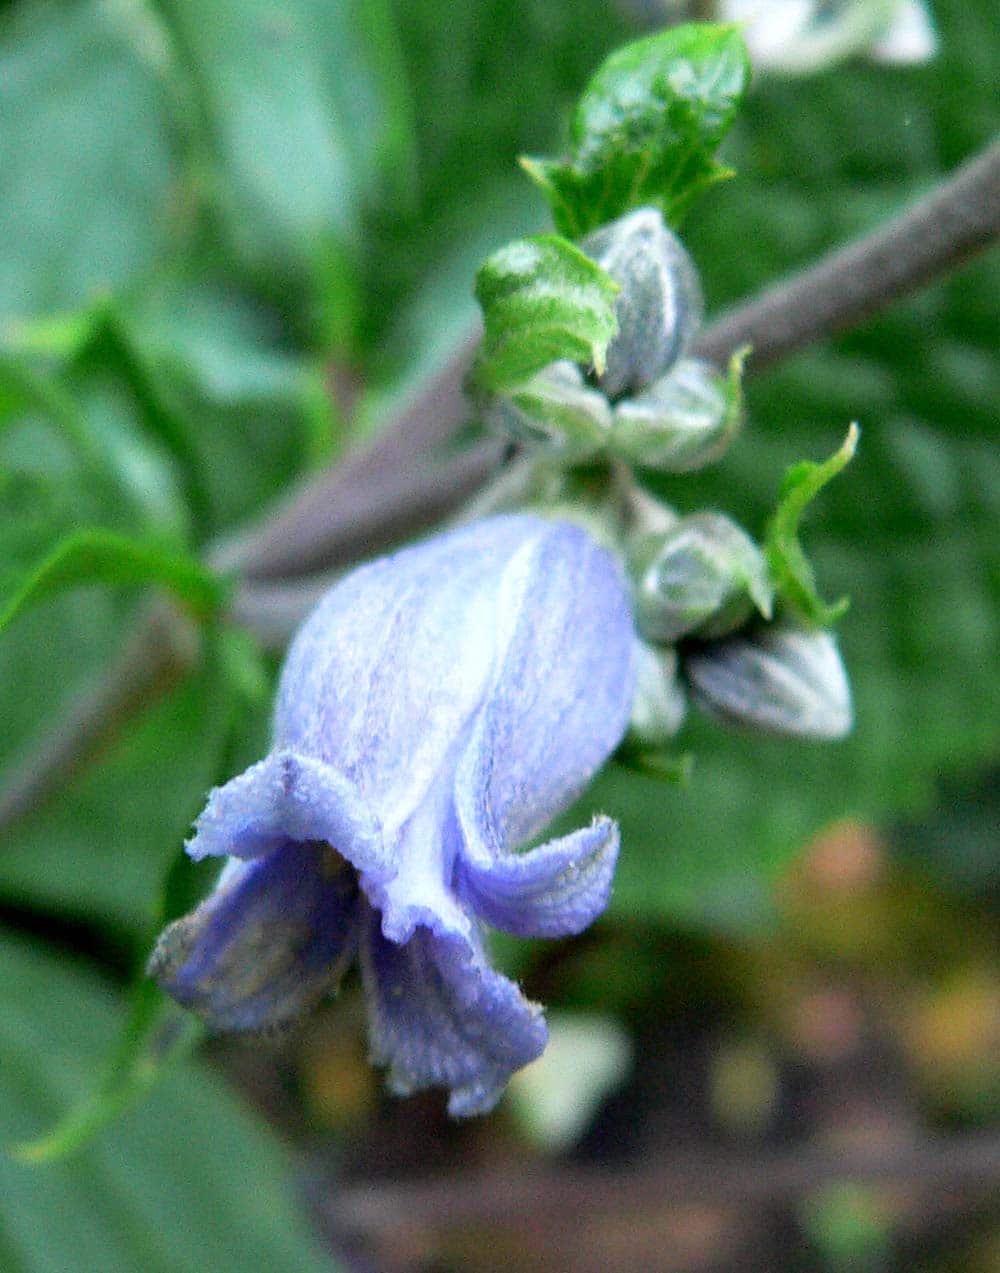
Clematis belongs to the group of 300 species among the family of buttercups, Ranunculaceae. Gardeners, ever since 1862 have used hybrids in this plant starting with their experiments on Clematis × jackmanii that they used as a stand-by flower in their gardens. A great number of hybrid cultivars come up every day. They are originally from Japan or China. A clear majority of this variety they call as clematis in English, whereas a few they call as traveler’s joy, the name discovered by John Gerard, in honor of herbalist C. Vitalba, the only native of Britain there. The name of this flower derives from the Greek word Klema, referring to vine clematis.
Anatomy
This is a perennial plant having stem almost 3’ tall. They are herbs, with leaves in opposite directions having leaf stalks and that twist around supporting structures for anchor the clematis vines. The flowers are white, rigid and in umbels. A stalk of inflorescence can terminate many times.
How to cultivate domestically
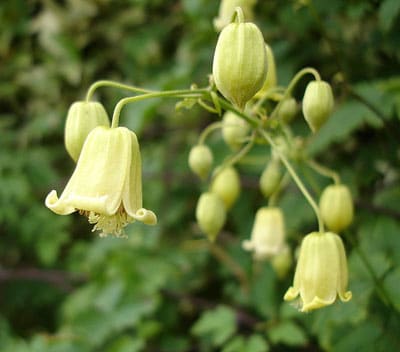
Photo by: Ulf Eliasson
Preparation for Planting
Clematis like properly drained soil that is neutral / slightly alkaline in pH value. In case your soil seems acidic, sweeten it occasionally with a small amount of wood ash or limestone. Clematis prospers well when their roots receive cool shade and leaves receive warm sunlight. Place a hand full of organic fertilizer in granular form and a shovel full of compost around the plant. Repeat the process one or two times using a fertilizer that is soluble in water, during its growing time.
Planting
- Collect the seeds from a wholesome Clematis plant, immediately after their heads get dry and start to open. Set apart the cottony matrix from the brown seeds. It doesn’t matter if a little of the cotton stays attached to the seeds, it will not harm germination.
- In order to prepare a rich mixture of properly draining soil for your Clematis, mix 2 part of sharp sand to 3 parts of seed compost. Prior to filling the pots where roots have initiated, fill a number of 4” pots with the mixed soil, leave ½” space at the top of every pot.
- Plant each Clematis seed within 1 square inch space in every pot. Carefully push the seeds into the top layer of the soil. Top up the many 4” pots with the mixture of sand and ¼” thickness of the compost above the seeds and firm up the soil.
Placement and Watering
Keep your pots outside in either mild shade or in a cold greenhouse exposed to indirect and bright light and to a cool temperature. Throughout the winter, let your Clematis stay outdoors. In the first few seasons following planting, water them at regular intervals in dry weather. You need a minimum of 4 watering cans for a meter square in order that the root part gets soaked.
Flowering Period
Majority of the Clematis blossoms only for a small duration. Unlike the annuals, they don’t blossom throughout the season. In order to receive one more blossoming, cut the plants by half and then supplement with low levels of nitrogen fertilizer and continue to water it well.
After –Bloom Care
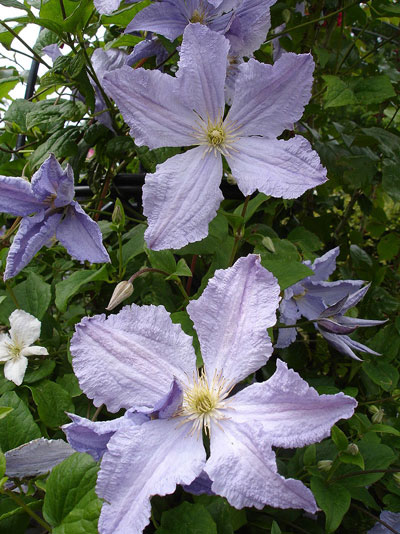
Photo by: Ulf Eliasson
Prune your Clematis every year in particular, this will depend on the pruning variety your Clematis belong to. The ones that belong to the pruning batch one, needs pruning of all the weak and dead stems after they flower, during the beginning of summer.
As Cut Flowers
Growing beautiful clematis is helpful not only because they are unique and the bouquets made of them are pretty and give glamor to your home, but also because they are one among the everlasting cut flowers known.
Having discovered a fondness for insects while pursuing her degree in Biology, Randi Jones was quite bugged to know that people usually dismissed these little creatures as “creepy-crawlies”.

